I have had a very interesting year. I went back to school. Going back to college is awesome in this amazing digital age (the last time I was a full-time student was pre-smart phone and YouTube!). Sadly, I discovered that I have absolutely no talent for being able to do simple chemistry experiments, so a mid-life career change to become Doctor Jaime is no longer in the cards for me. But on the up-side, I've got a whole new appreciation for the microbial world and how it affects our daily lives (Thanks Microbiology class!!).
 |
| Merry Christmas from the Dynamite Family! |
 |
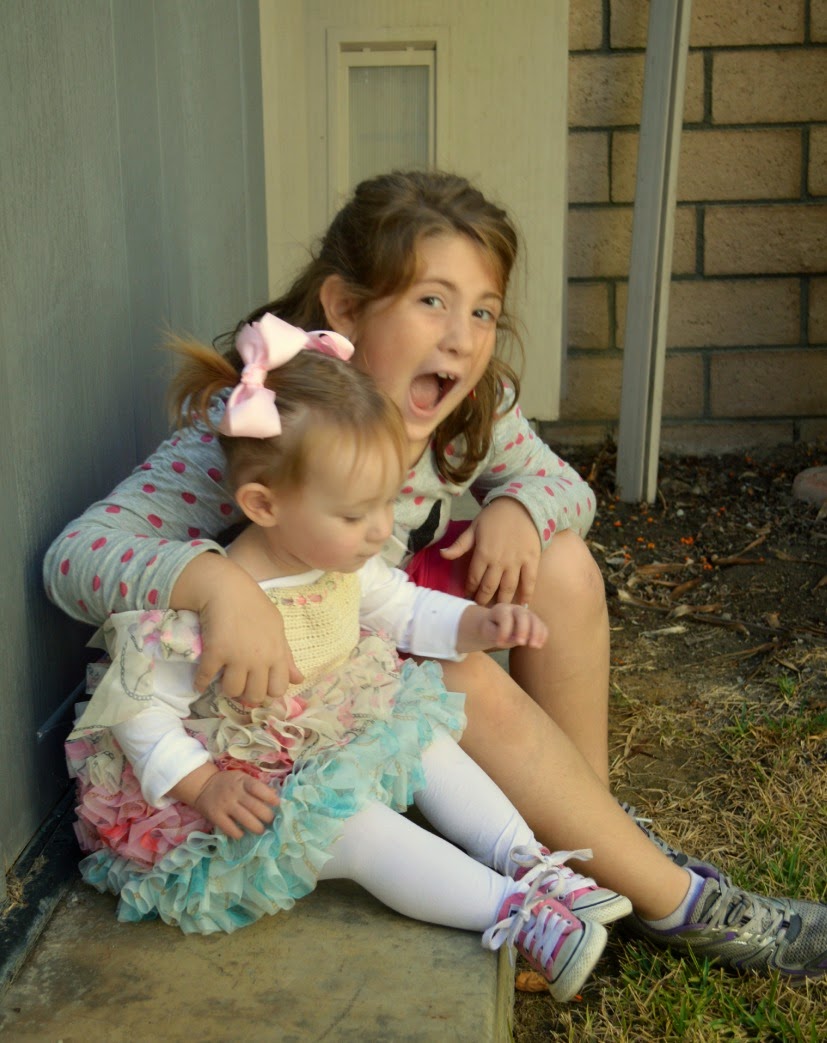
| Karate Mims! |
Mims started 3rd grade this year. She's the tallest girl in her class by several inches, which I take a strange pride in, even if it wasn't MY genetics that contributed to her superior height (my husband's family is very tall, so at family events I'm the shrimpy one at almost 5' 6"). Her height has had extra benefits this year, because it has made her really good at karate. We put her in classes last March and she fell in love with the sport. She's come out of her shy-shell and become like a whole different kid. Plus, her karate teacher is really a great guy, and has encouraged my husband to start taking classes too. So now Mims and her dad go to private lessons on Saturdays, as well as twice-a-week classes that Mims has been doing for the last nine months. I am enjoying this so much more than being Coach Jaime for her volleyball team last year. Being a karate mom is more about sitting at the side of the room and silently focusing all of your e.s.p. energy on making your kid perform their kata correctly... I have never once been asked to run across a field to chase after a rogue ball...
 |
| Hippopotamus Christmas cookies! |
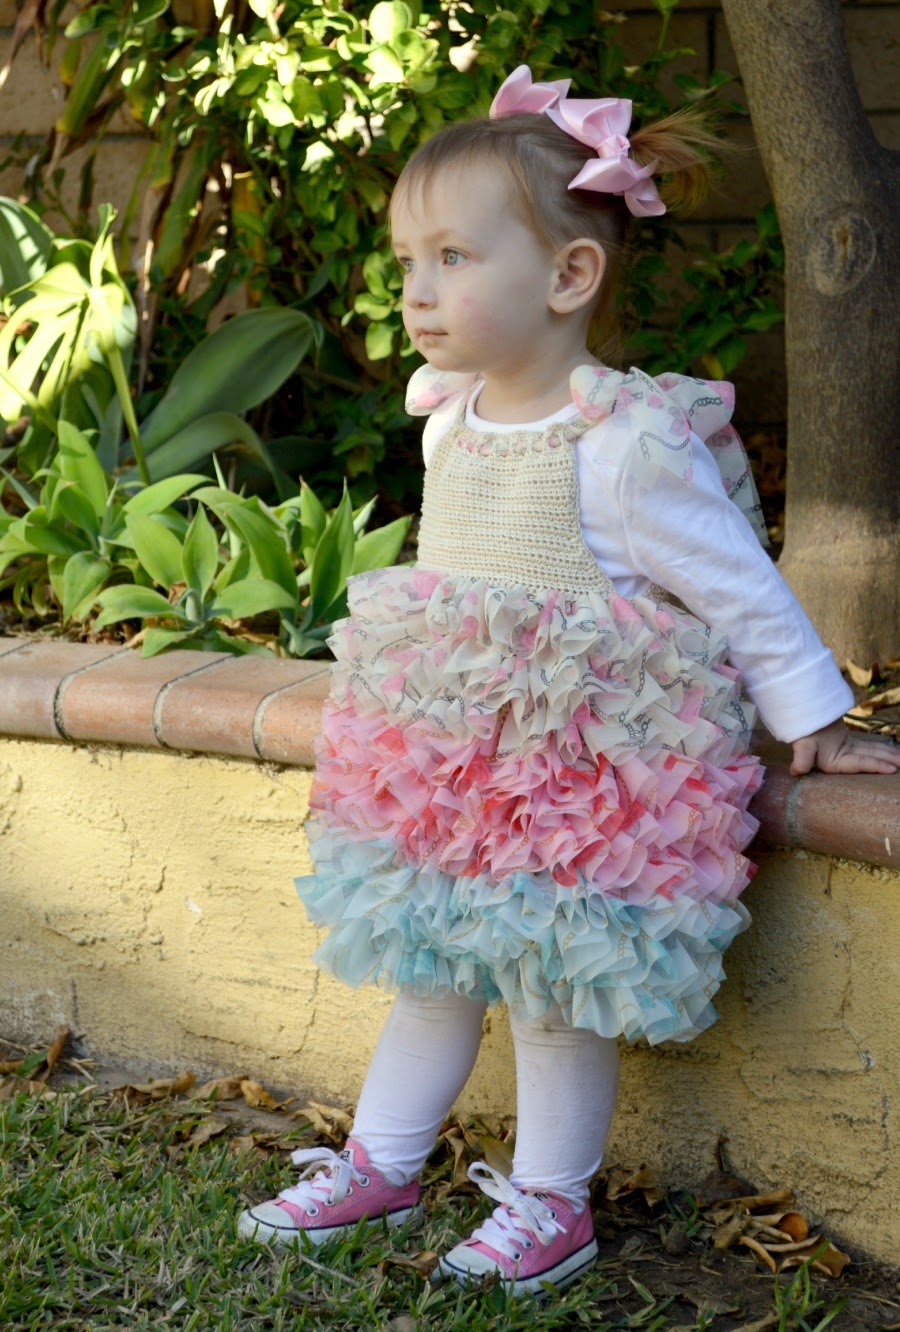
I'm embarrassed by how little crochet I have done this year. I took family photos (with a tripod and a remote I hid behind the back of the couch! My nieces (in the elf and santa hats) were not impressed.). I decorated cookies (like legit decorated, with bags and tips and a rainbow of royal icing). I read 30 non-school-related books. I went to 5 plays. I fell in love with my (new to me) 2012 Nissan Leaf (electric car, FTW!!). I also fell in love with the Hamilton soundtrack. The hubs and I celebrated our 15th wedding anniversary. My sister had another baby, my sweet little CJ (who loves me the most, but barfed all over both of us the last time I saw her.) My daughter convinced us all to dress up for Halloween (she went as Mavis Dracula from the Hotel Transylvania movies, and she got her dad to go as Dracula. I got to be a bat, since the mom in that movie is dead...) I decorated our Christmas tree on November 1st (blasphemy!) and got reprimanded in Target for declaring their abundance of PepsiMax a Christmas Miracle on November 20th ("Thanksgiving Miracle! It's not even Thanksgiving yet!" said the random guy in the soda aisle said. "We're Canadian," my quick-thinking husband replied). I drove my kid to karate lessons and swimming lessons, to the water park and to the beach. I memorized most of the Periodic Table of Elements, and learned about Fungi. I perfected the art of taking pictures on my phone through the eye-hole of a microscope.

 |
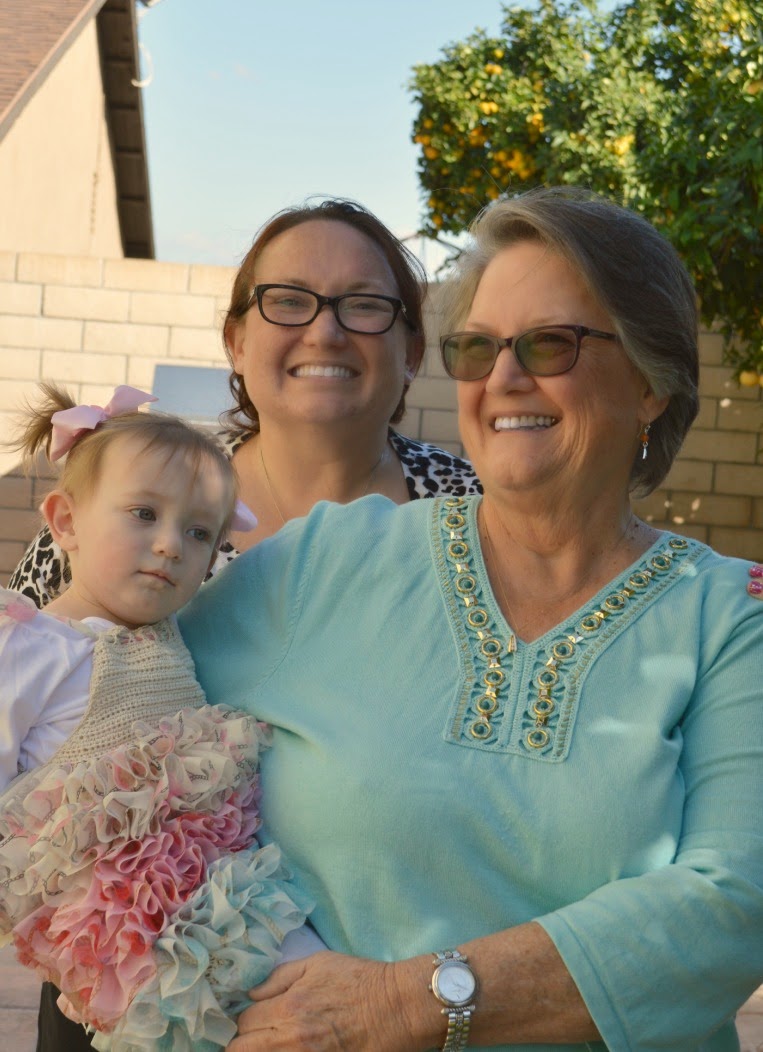
| Me and CJ! |
 |
| 15 years later! |
 |
| The Draculas! Note the crochet bat hat, see I've still got it! |
But please, don't confuse my lack of crochet this year with a lack of DESIRE to crochet.
I hope you all have a wonderful holiday season, and I wish you all the best in 2016!!
Love always,
Jaime
Crochet Dynamite xoxo